It might be a little obvious that I have been pretty busy lately with the lack of posts coming your way. I spent July finishing the studio and running around on the West Coast for 3 shows. I basically took the one of the slower times of year and made it one of the busiest! Needless to say I wasn’t spending as much time thinking of new blog posts as I would have wanted.
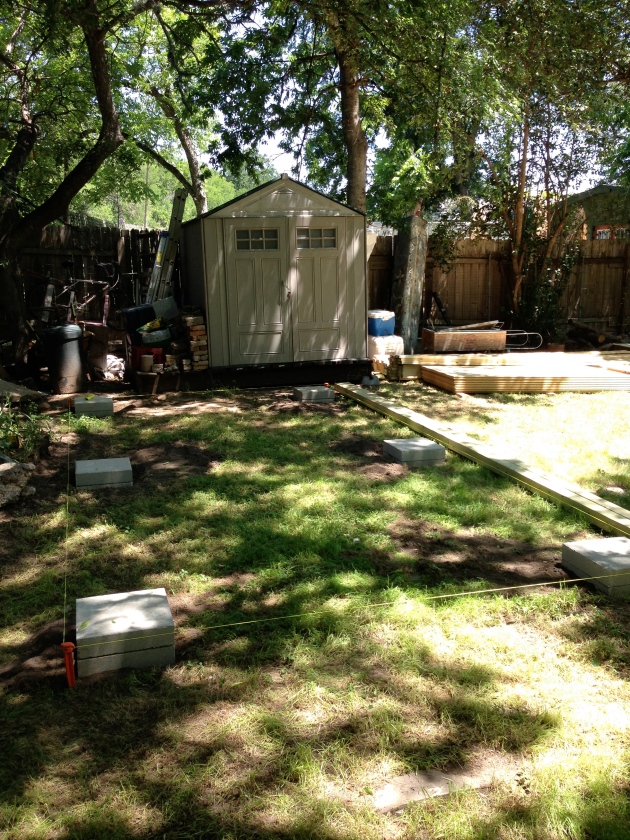
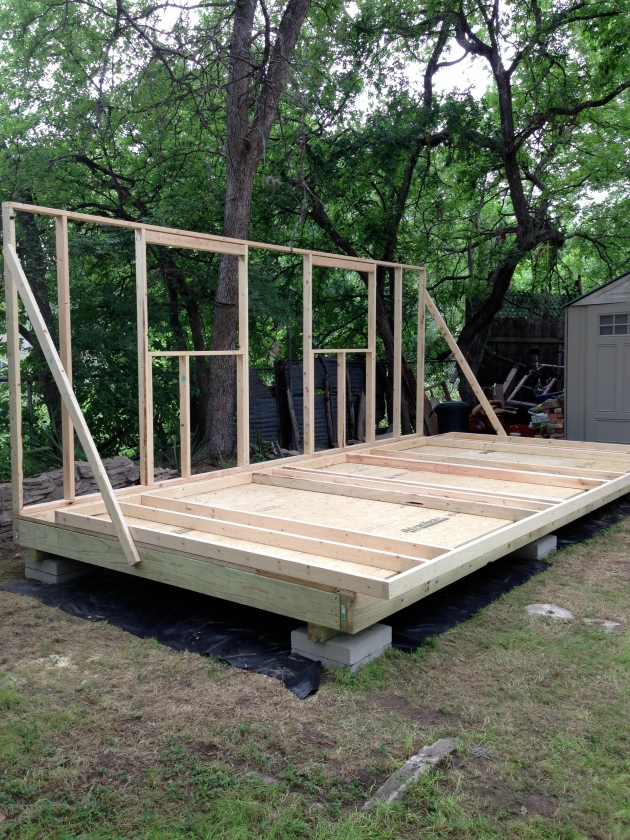
For those of you who don’t follow me on Instagram, Twitter, or Facebook, I wanted to give you a recap of the studio building process and how it all came together.
This studio was the first time I put myself to the task of envisioning a space from the ground up. Since we stayed under 200 sq ft to avoid pulling building permits {minus electrical}, every bit of the space needed to be super functional. I didn’t expect designing the space to be as hard as it was, especially the furniture and built-ins. Since this was the first space that I have had specifically dedicated to making jewelry, I wasn’t exactly sure of how I would organize it all. It also didn’t help that I also took on the task of building in a lot of the furniture myself.
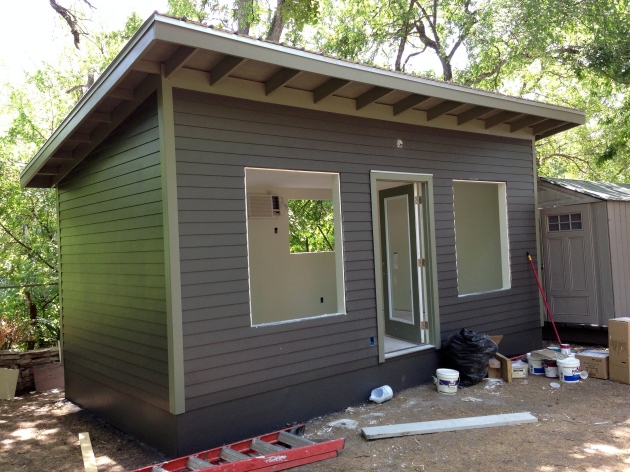
All in all, the studio came together beautifully and the space is exactly what I wanted. It took around 5 weeks beginning to end, and that included a 2 week delay with the window debacle. Our local builder extraordinaire was Craftsman Shed.
We are putting the final touches on the interior and will feature the studio in all its glory in a future post soon! Keep checking back for the final product, furniture and all!
This is when our custom widows were supposed to go in…. but they were dropped and broken by the Home Depot crew… so we had to improvise and re-order windows meant for remodel jobs, not new construction.


Comments (0)
Back to forge