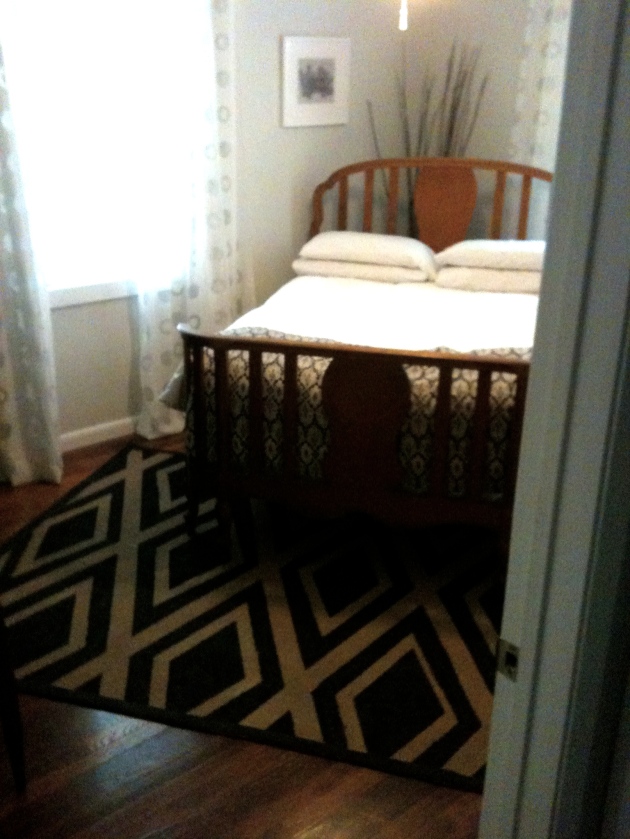
It has been a few months since our cohabitation and I am still struggling with getting the new mix of furniture, vintage & modern, just right. After a late night consultation with my stylist (Jessica) we decided that one of the last things needed to balance out the now more antique/vintage look of the bedroom was a more modern rug and a side table. I was spending a lot of time getting inspired and lusting after some West Elm Kilim rugs when I remembered something Jess said about painting an old rug. Voila! I had an old rug that would be just perfect for the experiment sitting in a trailer behind the shop. So, here is how it all went down…
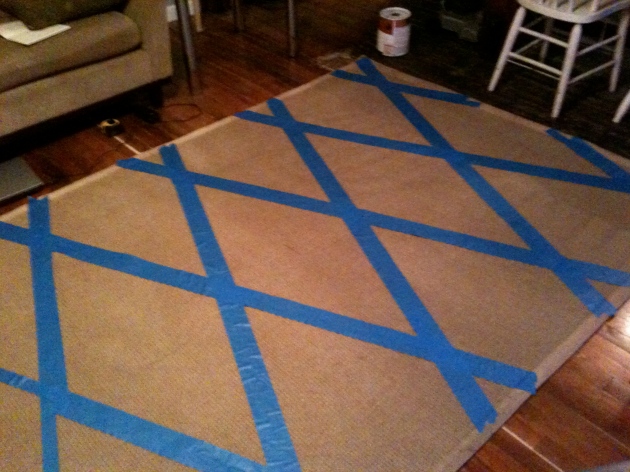
The rug was a non skid jute/natural fiber rug (I dont think this would work as well with a pile rug) and I used some interior flat latex paint we had laying around the house. I started my pattern by defining the middle, making the desired diamond, and moving from there using painters tape (later I got masking tape and would suggest it over painters tape- more sticky is better!).
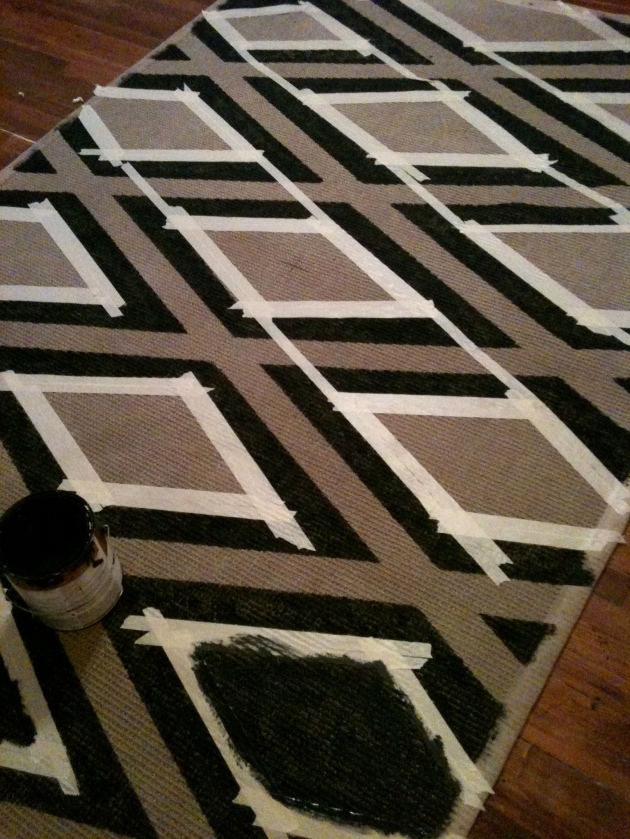
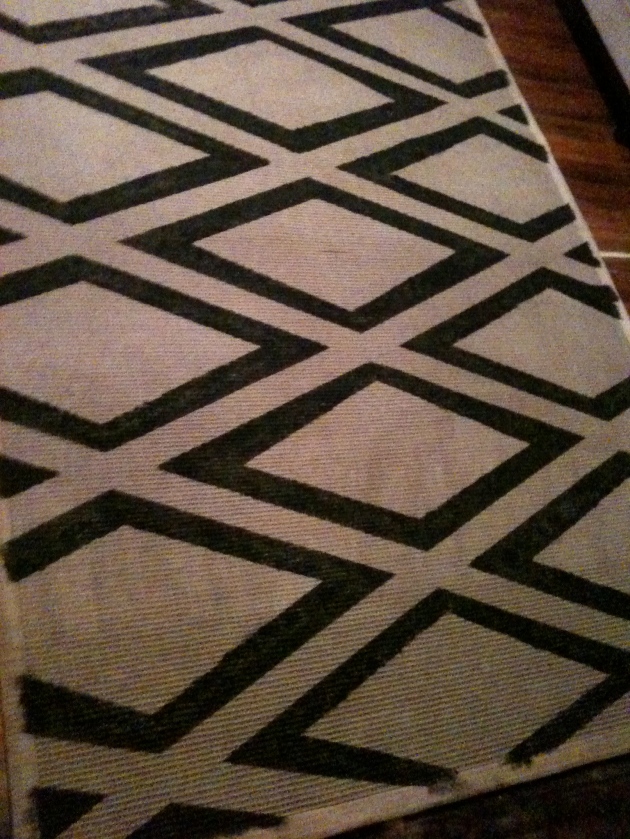 For the border for the interior of the diamond I made a template form paper (since I still didn’t have tape) and just plopped it down inside of the big diamond and painted over it, leaving the inside white diamond. That was where I left it at the end of day 1.
For Day 2 I picked up some masking tape. I definied the final inside diamond, painted, and free handed the border.
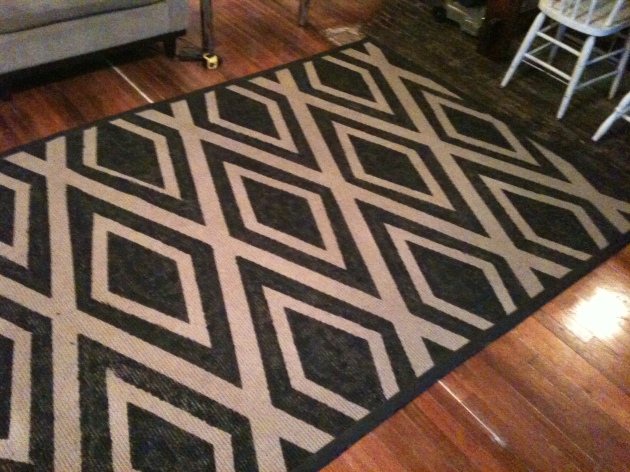
I am very very happy with the final product! The rug is not perfect, there are paint drips, not all of the paint went into all of the cracks, etc, but I love the rustic modern look so it works for me. I would also say that this wouldn’t be the best rug for an area where you frequently sit or lay on the floor. The paint is a little prickly where it hardened on some loose fibers and can feel a bit scratchy (The rug wasn’t really a plush rug to begin with). I am hoping that with light foot traffic they will soften and lay down a bit more.
Filed under: diy



Comments (0)
Back to forge